
Protective equipment, such as goggles and
They are the surface patch, the one-sided patch, and
respirator
the two-sided patch.
The basic steps are (1) planning the repair, (2)
Ruler
preparing the damaged area, (3) tailoring the
Saw (metal-cutting handsaw, holesaw, or re-
reinforcement material, (4) preparing the resin system,
ciprocating saw) for cutting away the dam-
(5) impregnating the reinforcement with resin, (6)
aged area
applying the patch, (7) curing (hardening) the patch,
and (8) finishing.
Disk sander, cone sander, or file for grinding
PLANNING THE REPAIR.--Before beginning
away the damaged portion and scarfing (bev-
the repair, several details should be checked and
eling edge of cutout area)
advance plans made to avoid later problems. If the
Cardboard, sheet metal, or plywood panel for
repair is to be accomplished in an unsheltered area,
use as backing and cover plates
check the weather. If it is cold (below 50F), rainy, or
blustery, wait for a better day or move to some indoors
Tape, shoring, or bracing for attaching or sup-
area away from the elements. If it is a bright, sunny
porting the backing and cover plates
day, be sure that the area is well shaded.
Acetone for cleaning the surface and the
Assemble the necessary equipment, in the
equipment
quantities required, at the repair site. This includes the
materials provided in the plastic repair kit plus the
In determining the quantities of materials
following supplementary items:
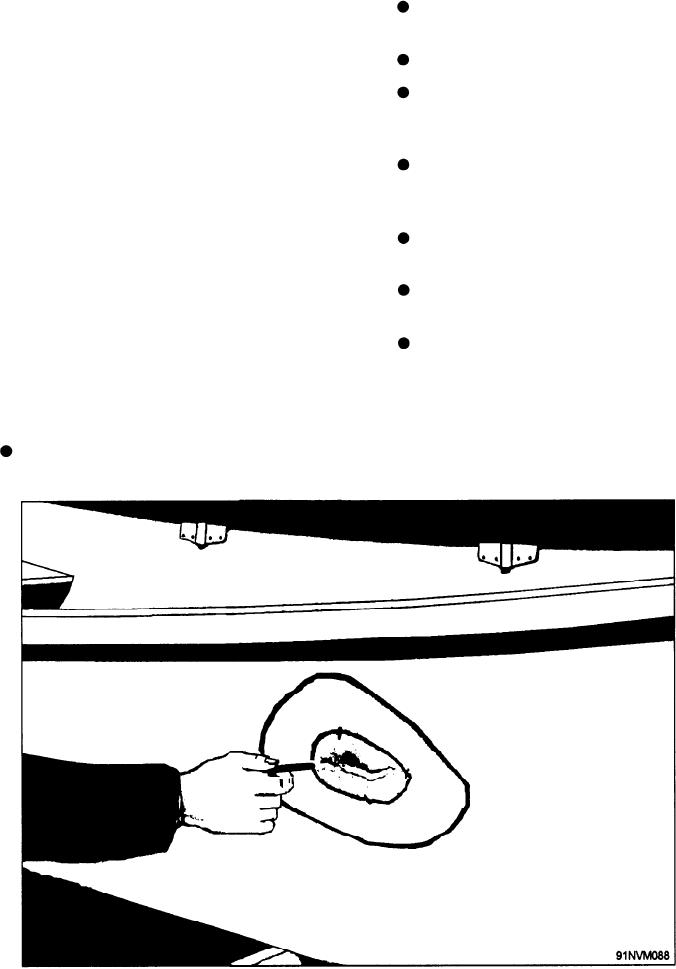
required for the repair, outline the area to be cut away
and mark the area to be scarfed (beveled) with chalk
Chalk for marking the area to be repaired
(fig. 4-8). The recommended width of the scarf for
Figure 4-8.--Oval-shaped chalk marks delineate the area to be cut away (inside chalk marks) and the area to be scarfed (outside
chalk mark to inside).
4-9

