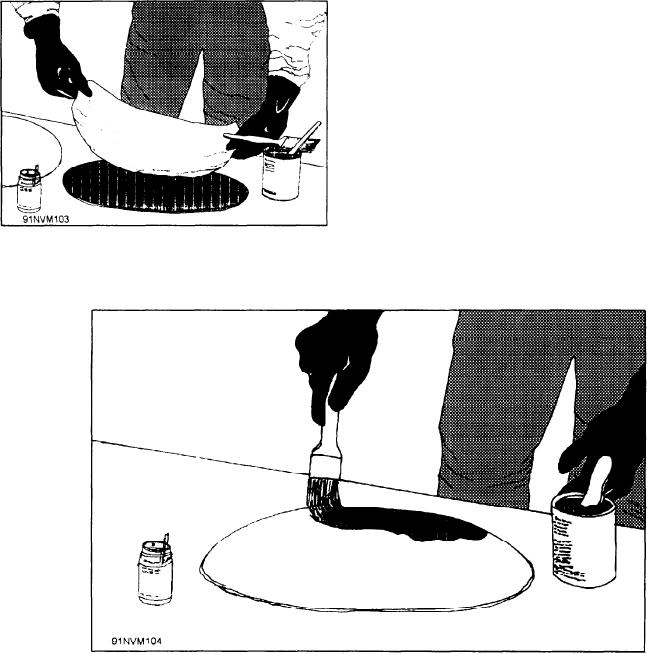
Center a bonding ply over the preformed patch as shown
patching by abrading the scarfs around the holes.
in figure 4-23, and saturate it with resin. (See fig. 4-24.)
Patch one skin and allow it to cure. After this patch
Repeat this procedure with the other bonding plies.
has cured, cut and fit the core section. Secure the core
Position this assembly over the hole as shown earlier in
section with repair resin. Then, repair the second skin.
figure 4-14, and cover it with a sheet of separating film.
Where damage is to only one skin and core, cut
The patch can be held in place by a cover plate, or by
out a circle of skin with a sharp-cutting tool such as a
shoring as shown earlier in figure 4-13 until the patch
hole saw. Cut the skin away from the core material
hardens or cures. The patch is completed in the same
with a knife. Damaged honeycomb core can be cut
manner as previously described.
with sharp shears and pulled out with needle nose
pliers. Other types of core material, such as plastic
Repairing Double-Skin Plastic Boats
foam, can be cut out with a knife. Cut a piece of core
material to fit the section that was cut out. Be careful
To repair damage that extends through both skins
to match the pattern, if necessary. Cement the material
and the core section of plastic boats, follow the
in place with repair resin and proceed to repair the
procedures described earlier under repair procedures.
outer skin as described previously.
Cut out the damaged areas and prepare the skins for
Damage to the skin only can be repaired in the
same way as a conventional repair to reinforced
plastic.
METAL BOATS
From a wide range of aluminum alloys available
for many purposes, the Navy selected those most
suitable for salt water use for boat hulls. The hulls of
Navy aluminum boats are usually constructed of either
alloy 5086 or 5456. Both alloys contain magnesium as
the primary alloying ingredient, but differ slightly in
strength. In general, these two alloys are not used in
combination except when emergency repairs are
Figure 4-23.--Centering the first bonding ply.
needed.
Figure 4-24.--Saturation of the bonding ply with resin.
4-20


