
working life of the resin. After most of the air and
squeeze through the next ply, pushing out the
excess resin have been removed, it may be desirable
entrapped air. Place a clean sheet of separating film
to apply another coat of the remaining resin to the
over the top ply and work out the excess air and resin
repair area to assure that there is sufficient bonding
from the center to the edge of the patch. A cover plate
resin.
may be used.
Next, carefully feed the top layer of separating
If the patch is being applied to both sides, follow
film adjacent to the smallest ply from the patch; then
the method being used for each side separately. The
lift and center the patch over the hole with the
length of scarf and the amount of materials estimated
separating film on the outside (fig. 4-14). This film
for the repair on each side should be based on one-half
should not be removed. With this film in place, once
of the total thickness of the laminate. Apply the patch
again work out any entrapped air and excess resin
to one side; then after it has cured, lightly sand the
using a roller or wooden spatula. This also causes the
opposite side and apply the second patch to that side.
patch to make intimate contact with the scarfed area.
In some applications, a patch can be applied to both
When the patch is being made on a vertical surface,
sides in succession (before the first patch cures); how-
apply a cover plate by taping, clamping, or bracing, to
ever, this procedure requires care and skill.
hold the patch firmly in place during the time needed
CURING.--The patch should remain un-
for hardening or curing.
disturbed at least overnight. Heat lamps may be used
Method Two.--When using this procedure, you
to speed the cure (fig. 4-15); but in using, you should
will lay individual plies of glass directly in place. One
not overheat the patched area as the cure reaction may
advantage this method has over method one, is that
"run away," causing frothing, blisters, and porosity.
plies or reinforcements may be omitted or added in the
Lamps should be kept at least 1 1/2 feet away. You
event the calculated number of plies does not give the
should wait a couple of hours to permit the resin to set
correct thickness buildup. A very liberal coating of
at room temperature and then give it a final "kick" with
resin must first be applied to the repair area. Then
heat.
place the smallest ply of reinforcement in the hole and
FINISHING. --After 12 to 24 hours, the patch is
saturate it with resin. Add successively larger plies.
ready for finishing. The time required will be less than
Apply sufficient resin to each ply so that it will
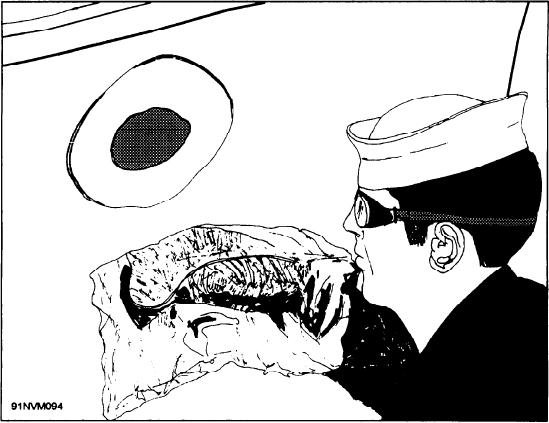
Figure 4-14.--Entire patch being put in place.
4-14