28.318
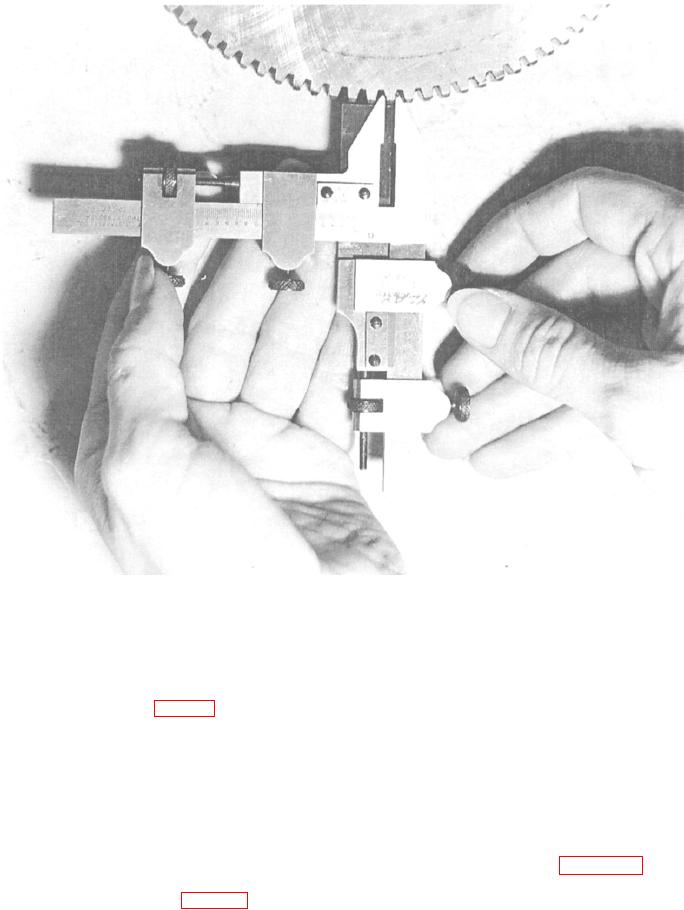
Figure 1-14.--Gear tooth vernier.
Rotate the cutter sufficiently to bring the tooth face
Gear Tooth Vernier
into contact with the gauge blade. If the angle of
clearance on the tooth is correct, it will correspond
Use a gear tooth vernier (fig. 1-14) to measure the
with the angle of the gauge blade. Cutter clearance
thickness of a gear tooth on the pitch circle and the
gauges that have an adjustable gauge blade to check
distance from the top of the tooth to the pitch chord, at
clearance angles of 0 to 30 are also available.
the same time. Read the vernier scale on this tool in
the same way as other verniers, but note that
graduations on the main scale are 0.020 inch apart
Adjustable Parallel
instead of 0.025 inch.
Cutter Clearance Gauge
The adjustable parallel in figure 1-16 consists of
two wedges connected on their inclined surfaces by a
sliding dovetail. An adjustable parallel can be locked
The cutter clearance gauge (fig. 1-15) is one of
the simplest to use. You can gauge clearance on all
at any height between its maximum and minimum
styles of plain milling cutters that have more than 8
limits. This instrument, constructed to about the same
teeth and a diameter range from 1/2 inch to 8 inches.
accuracy of dimensions as parallel blocks, is very useful
To gauge a tooth with this instrument, bring the
to level and position setups in a milling machine or in a
surfaces of the "V" into contact with the cutter and
shaper vise. You should normally use an outside
lower the gauge blade to the tooth to be gauged.
micrometer to set the adjustable parallel for height.
1-14


