
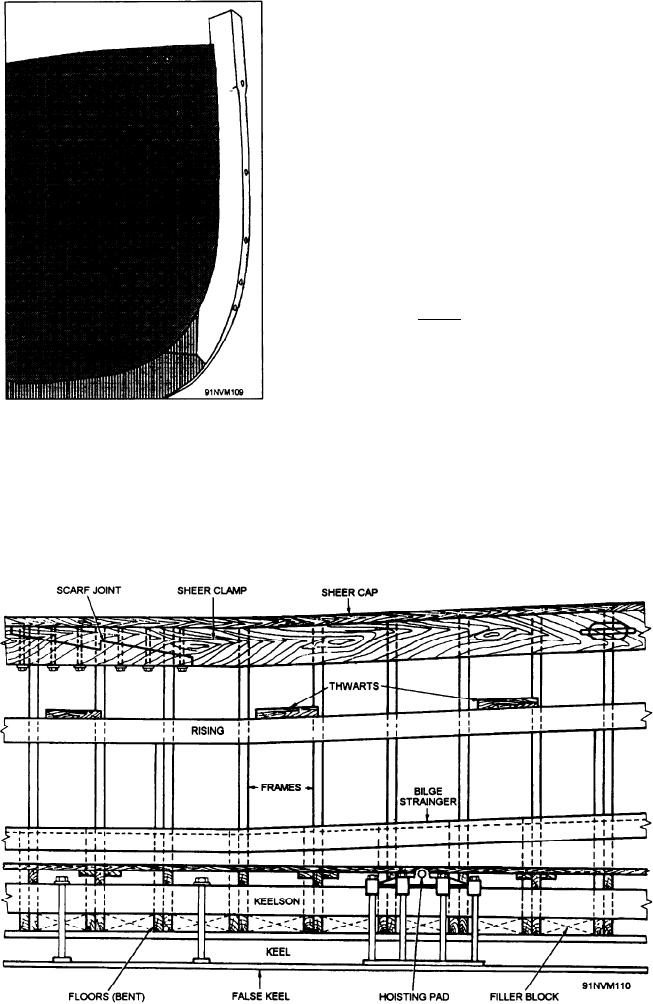
cap as far aft as necessary to enable you to work on the
sheer clamp and the sheer strake. Then remove the sheer
strake by cutting the proper rivets and driving them
from the frames and the clamp. Because of the twist and
curvature of the damaged piece, you will have to re-
move the sheer clamp much farther aft than the end of
the split. When you have decided where to cut the
clamp, remove the clamp filling blocks for as many
frames forward and aft as necessary to allow you to cut
the clamp. Then saw through the clamp, and remove the
damaged piece.
Select a new piece of timber for the replacement
piece. Surface the piece to the correct thickness, length,
and width, and lay out the scarf joint. Be sure to make
the scarf joint of the proper proportions; the length
should be at least six times the depth. Cut to the lines,
and smooth the wood with a sharp chisel and a plane.
Make a pattern of the finished scarf, and transfer the
lines to the undamaged section of the clamp. Cut and
smooth the scarf on the undamaged section, as you did
on the new piece.
Figure 4-29.--Completed repair to a stem.
Steam the new piece and bend it to the proper shape.
Using C-clamps or cabinetmakers' draw clamps, clamp
REPAIRING THE SHEER CLAMP
the new piece in place from the scarf end forward, and
reinstall the filling blocks. Drill the scarf joint for car-
riage bolts, insert the bolts, and tighten the nuts over
Suppose the sheer clamp is split from the apron to
as far aft as the sixth or seventh frame. How would you
washers. Figure 4-30 shows the completed scarf on the
proceed to repair the damage? First, remove the sheer
sheer clamp.
Figure 4-30.--Completed scarf joint on the shear clams.
4-25