Box Corner and Miter Joints
The box corner joint is the same as a multiple
dovetail with one exception--the 10-degree angle
(refer to fig. 3-18). A miter joint (refer to fig. 3-19)
is made by mitering the ends or edges of the
members that are to be joined. The angle of the
miter cut is one-half of the angle formed by the
joined members. In rectangular frames, door
casings, boxes, and the like, adjacent members form
a 90-degree angle. The correct angle for mitering is
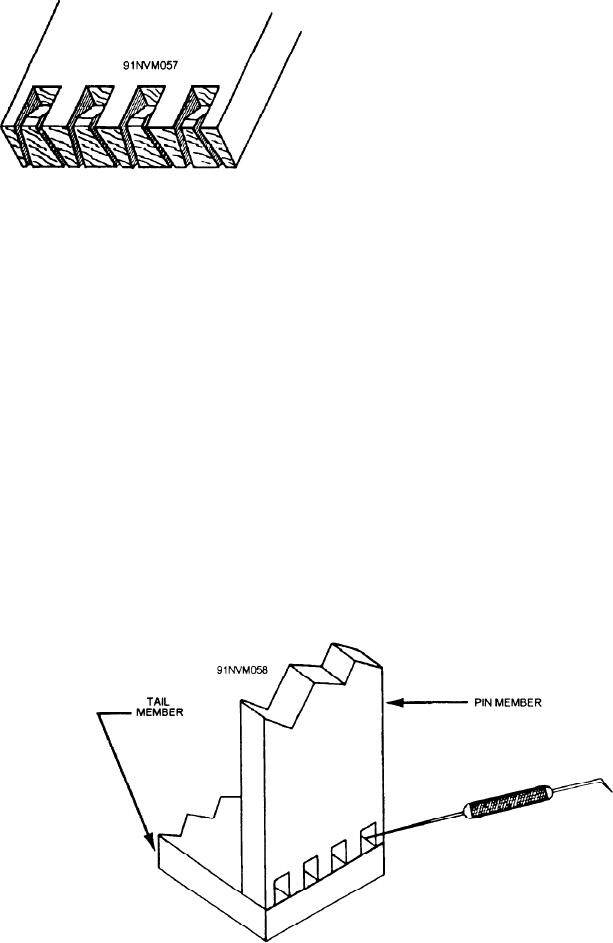
Figure 3-31.--Chiseling out waste in a through
multiple-dovetail joint.
45. For members that will form an equal-sided
figure with other than four sides (such as an octagon
off the outlines of the pins at 10 to the center lines.
or a pentagon), you need to calculate the correct
Determine the depth of the shoulder line by the
mitering angle. Do this by dividing the number of
thickness of the tail member.
sides the figure will have into 180, as shown in
figure 3-33.
You cut out the pins by sawing on the waste
sides of the lines and then chisel out the waste.
You can miter members in a wooden or metal
You should chisel halfway through from one side, as
miter box or on the circular saw by setting the miter
shown in figure 3-31. Then turn the member over
gauge to the desired angle. You can edge miter
and chisel through from the other side.
members to any angle on the circular saw by tilting
the saw.
When you have finished cutting out the pins, lay
the tail member flat. Set the ends of the pins in
Abutting surfaces of end-mitered members do
exactly the position they are to occupy (fig. 3-32).
not hold well when merely glued. You need to
Score the outlines of the pins, which will, of course,
reinforce them. A good reinforcement for a joint
also be the outlines of the tails. Square lines across
between end-mitered members is the slip feather.
the end of the tail member. Saw and chisel out the
This joint is a thin piece of wood or veneer glued
waste between the tails.
into a kerf cut in the thickness dimension of the
Figure 3-32.--Marking the tail member.
3-24


