
TM 55-2815-574-24
0050
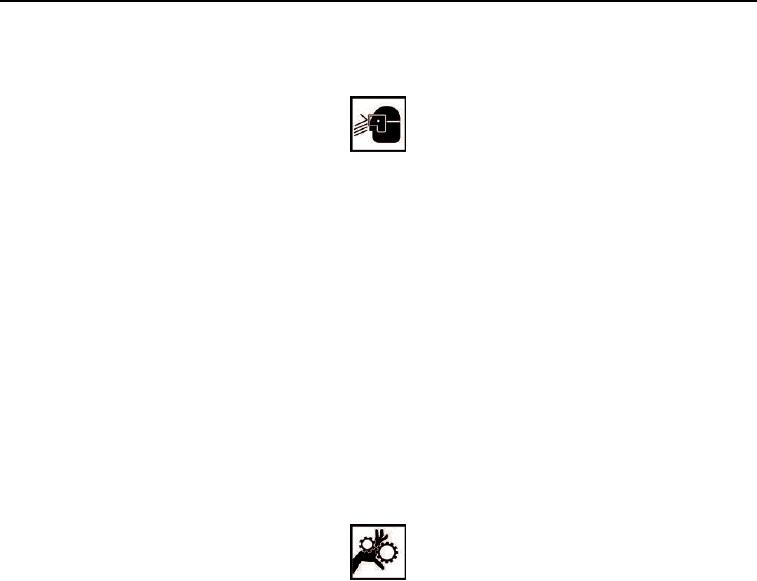
CLEANING - Continued
WARNING
Do not exceed 40 PSI (280 kPa) when using compressed air for drying components.
Failure to comply may result in serious injury to personnel.
2.
Using compressed air, dry rocker arm assembly and clevis bearing orifices (Figure 2, Item 3).
END OF TASK
INSPECTION
1.
Inspect clevis bearing orifices (Figure 2, Item 3) for stress cracks, nicks, abrasions, and other damage.
Replace defective part.
2.
Inspect clevis (Figure 2, Item 1) for damage. Discard defective part.
END OF TASK
ASSEMBLY
1.
Place rocker arm (Figure 3, Item 3) in arbor press.
WARNING
Keep hands and fingers away from arbor press moving parts. Failure to comply may result
in personnel injury.
2.
Using arbor press, press new bearing sleeves (Figure 3, Item 2) in clevis bearing orifices (Figure 3, Item 4)
of rocker arm (Figure 3, Item 3).
3.
Position clevis (Figure 3, Item 1) over clevis bearing orifices (Figure 3, Item 4).
4.
Using arbor press, press new bushing (Figure 3, Item 6) into clevis (Figure 3, Item 1).
5.
Using arbor press, press new pin (Figure 3, Item 5) into bushing (Figure 3, Item 6).
0050-3