appropriate sides of the jaws on the surface to be
dimensions on surfaces that have been machined.
measured and read the caliper from the side marked
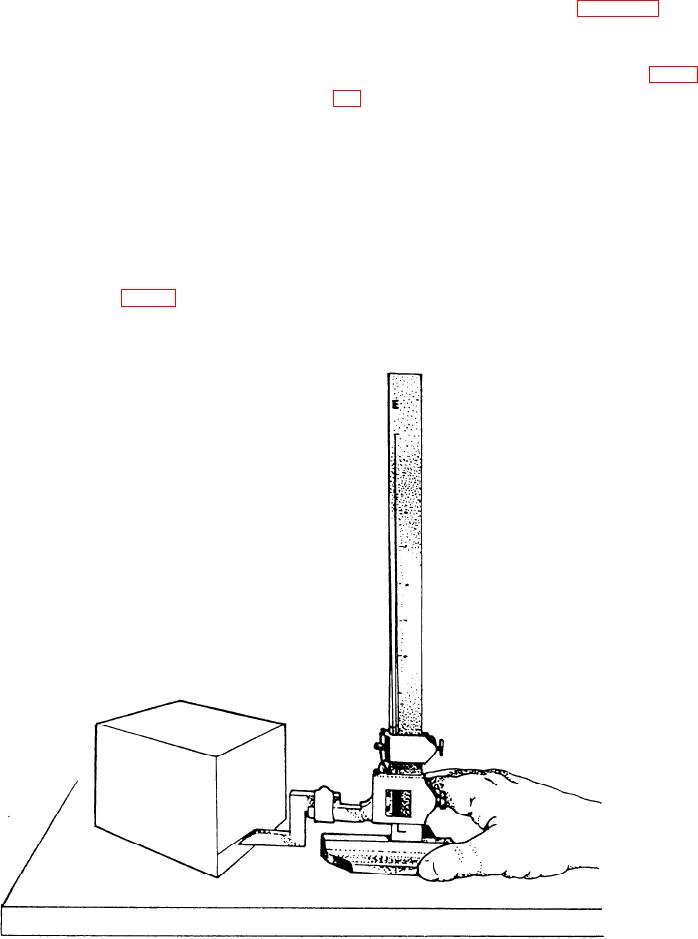
Attachments for the gauge include the offset scribe
inside or outside as required. There is a difference in
shown attached to the gauge in figure 1-9. The
the zero marks on the two sides that is equal to the
offset scribe lets you measure from the surface plate
thickness of the tips of the two jaws, so be sure to read
with readings taken directly from the scale without
the correct side. Vernier calipers are available in sizes
the need for calculations. As you can see in figure
ranging from 6 inches to 6 feet and are graduated in
1-9, if you were using a straight scribe, you would
increments of thousandths (0.001) of an inch. The
scales on vernier calipers made by different
have to calculate the actual height by taking into
manufacturers may vary slightly in length or number
account the distance between the surface plate and
of divisions; however, they are read basically the
the zero mark. Some models have a slot in the base
same way. See USE and CARE of HAND TOOLS and
for the scribe to move down to the surface and a
MEASURING TOOLS, NAVEDTRA 12085, for
s c a l e that permits direct reading. Another
instructions on how to interpret the readings.
attachment is a rod that permits depth readings.
Small dial indicators that connect to the scribe
Vernier Height Gauge
permit extremely close work when you check or lay
out work. Read a vernier height gauge the same
A vernier height gauge (fig. 1-9) is used to lay out
work for machining operations or to check the
way you read a vernier caliper.
Figure 1-9.--Vernier height gauge.
1-10

