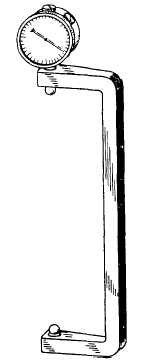
Figure 3-31.—Gauge used for measuring bolt elongation.
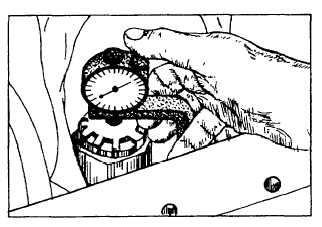
Figure 3-32.—Measuring bolt elongation.
and figure 3-32 illustrates the gauge in use. The proper
elongation is listed in the engine manufacturer’s
technical manual.
After you reassemble a bearing, always bar or jack
over the engine by hand through several revolutions.
Check to see that all reciprocating and rotating parts
function freely and that the main and connecting rod
bearings do not bind on the crankshaft. Turn larger diesel
engines over first by the manual jacking gear provided
and then by the engine starting system.
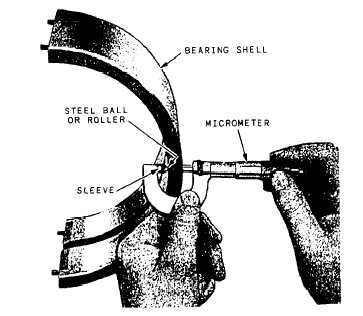
Figure 3-33.—Measuring bearing shell thickness.
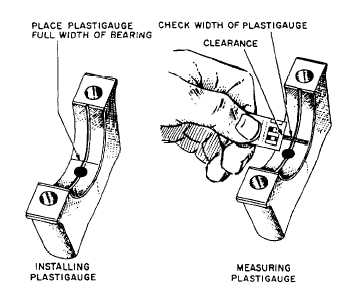
Figure 3-34.—Checking bearing clearance with a Plastlgage.
MEASURING BEARING CLEARANCES
Do not use leads, shim stock, or other such items to
determine clearance of precision bearings. These items
may seriously damage the soft bearing material. Instead,
use a micrometer fitted with a spherical seat to measure
the thickness of bearing shells. Place the spherical tip
against the inside of the bearing shell to obtain an
accurate reading and to prevent injury to the bearing
material. Figure 3-33 shows a micrometer caliper fitted
with a steel ball for measuring bearing thickness.
An alternate method for determining clearance is
with a Plastigage (fig. 3-34). The Plastigage will not
3-21

