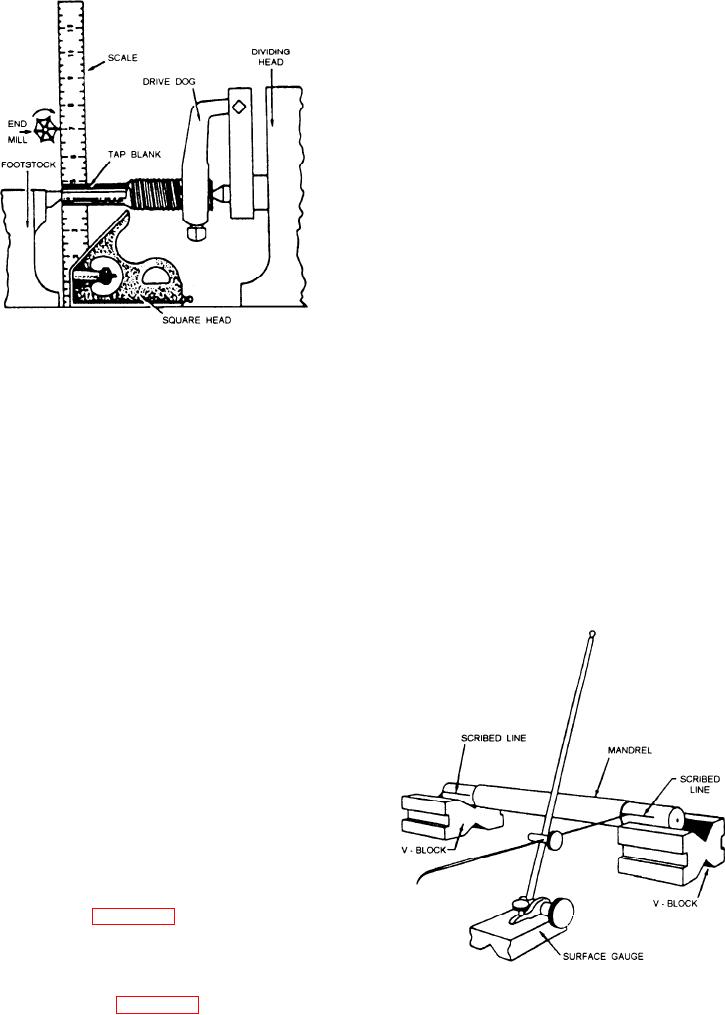
4. Mount the index head on the table with its
spindle in the horizontal position.
5. Again, set the surface gauge scriber point,
but to the center line of the index head
spindle.
6. Insert the work in the index head chuck with
the end of the work extended far enough to
permit all required machining operations.
7. To align the surface gauge scriber point with
the scribed horizontal line, rotate the index
head spindle.
8. Lock the index head spindle in position.
You can mill these flats with either an end mill, a
side mill, or a side milling cutter.
NOTE: Rotate the cutter in a direction that will
cause the thrust to tighten the index head chuck on the
Figure 7-66.--Aligning the work and the cutter.
spindle when you use a screw-on type of chuck.
9. Raise the knee with the surface gauge still set
side. Remember to lower the work to below
at center height until the cutter center line is
the cutter again.
aligned with the scriber point. This puts the
17. Set the machine for finishing speed, feeds,
center lines of the cutter and the work in
and depth of cut, and finish machine all the
alignment with each other.
sides.
10. Position the work so that a portion of the flat
18. Deburr the work and check it for accuracy.
to be machined is located next to the cutter.
Because of the shallow depth of cut, compute
Machining Two Flats in One Plane
the speed and feed as if the cuts were
finishing cuts.
You will often machine flats on shafts to serve as
seats for setscrews. One flat is simple to machine.
You can machine in any manner with a side or end
mill, as long as you can mount the work properly.
However, machining two flats in one plane, such as
the flats on the ends of a mandrel, presents a problem
because the flats must align with each other. A simple
method is to mount the work in a vise or on V-blocks
in such a manner that you can machine both ends
without moving the work once it has been secured.
We will describe the method that is used when the
size or shape of the work requires repositioning it to
machine both flats.
1. Apply layout dye to both ends of the work.
2. Place the work on a pair of V-blocks, as
shown in figure 7-67.
3. Set the scriber point of the surface gauge to
the center height of the work. Scribe
horizontal lines on both ends of the work, as
Figure 7-67.--Layout of the work.
illustrated in figure 7-67.
7-39

